Have you seen the diagonal photo collages on Pinterest? These collages are unique, creative, and fun. You can now make a collage for Pinterest of your book cover using Book Brush in just a few short minutes. Below, we’ll demonstrate that you can make a stunning diagonal collage of your book cover yourself quickly and easily. Let’s get started on making one together!
Step 1:
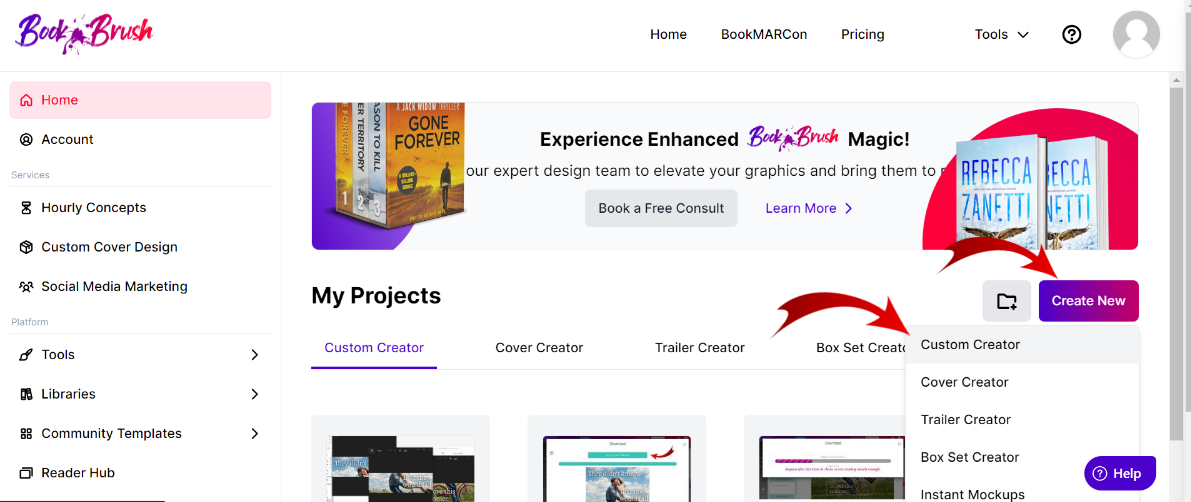
To begin, click on the “Create New” and the “Custom Creator” button.
Step 2:
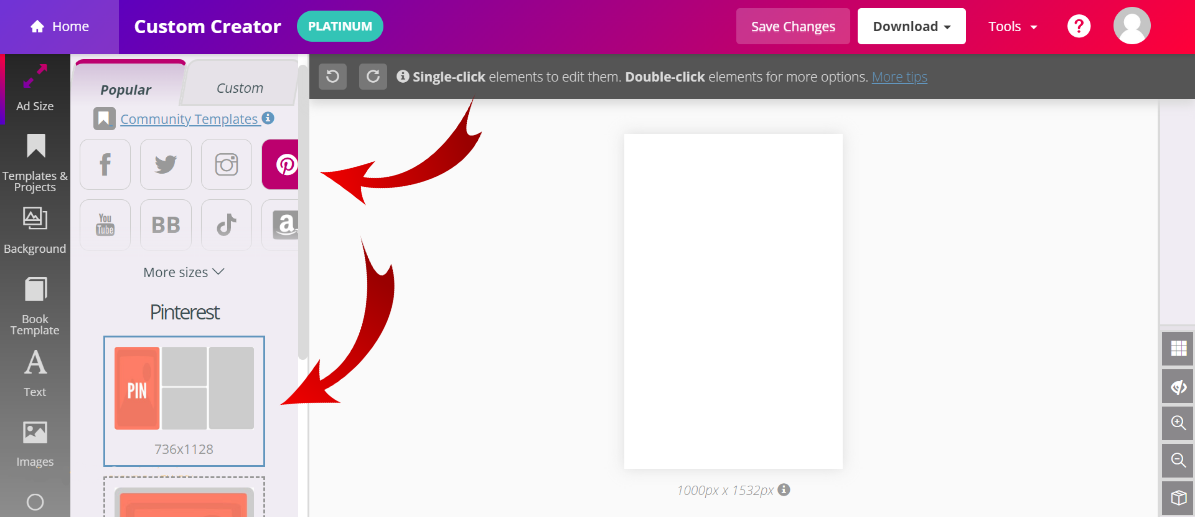
Since we are going to make this collage for Pinterest, click on the “P” icon, and then you scroll and can choose which size you want.
Step 3:
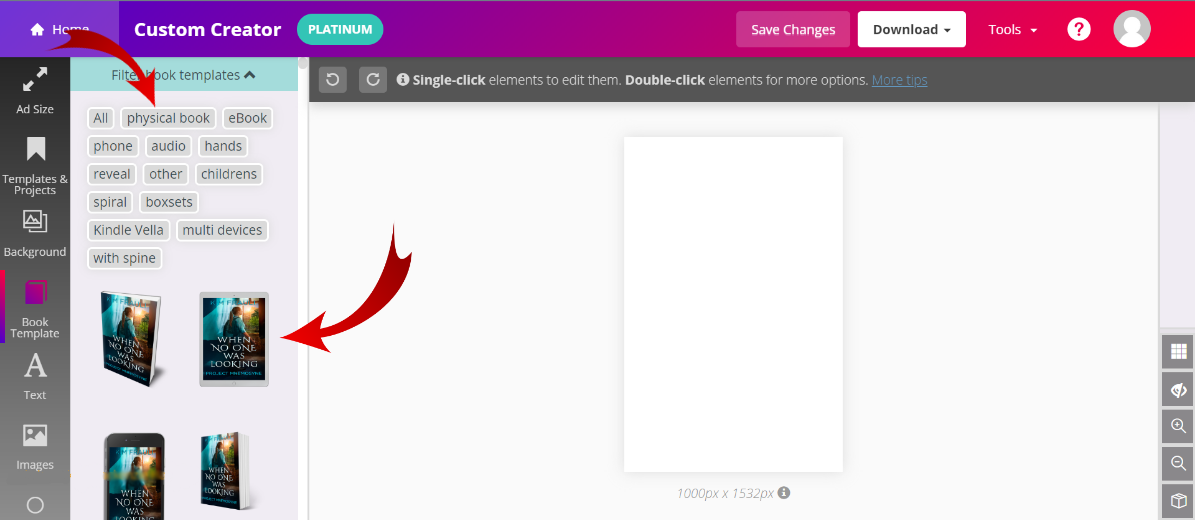
You can choose which kind of book you want. For this example, we used a physical book. When scrolling, it’s important that you find a book that lies flat. If it sits at an angle, your collage will look different.
Step 4:
Once you’ve clicked on which book position you like, you will have the opportunity to either click on your book cover if you’ve used it before or upload a new photo.
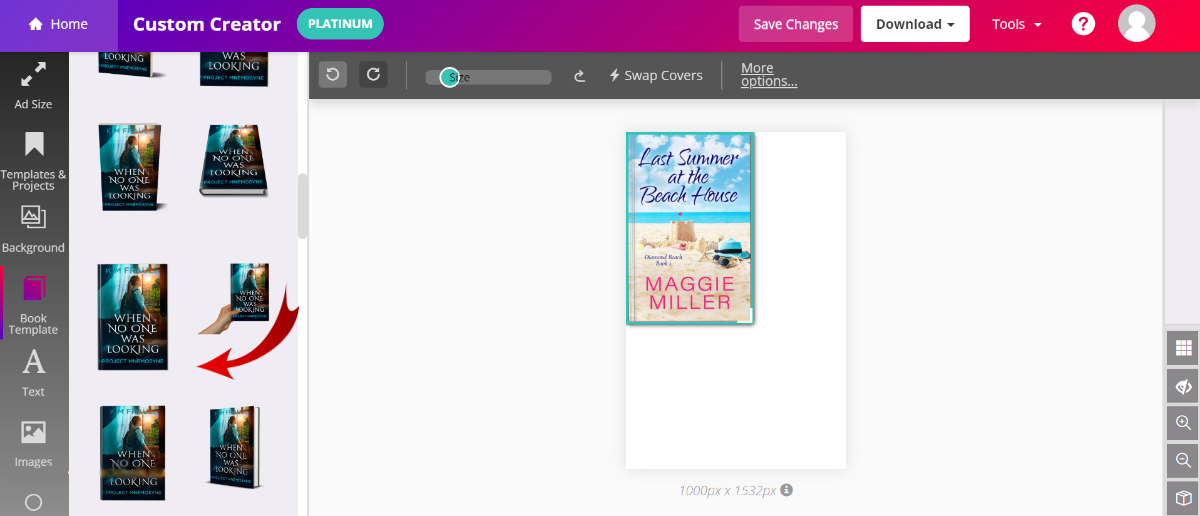
Step 5:
To adjust the size of your cover, you can either click on your cover and adjust the size with the toggle at the top of the page, or by hovering over the photo until an arrow shows up. Then you can drag the photo on the corner to the desired size.
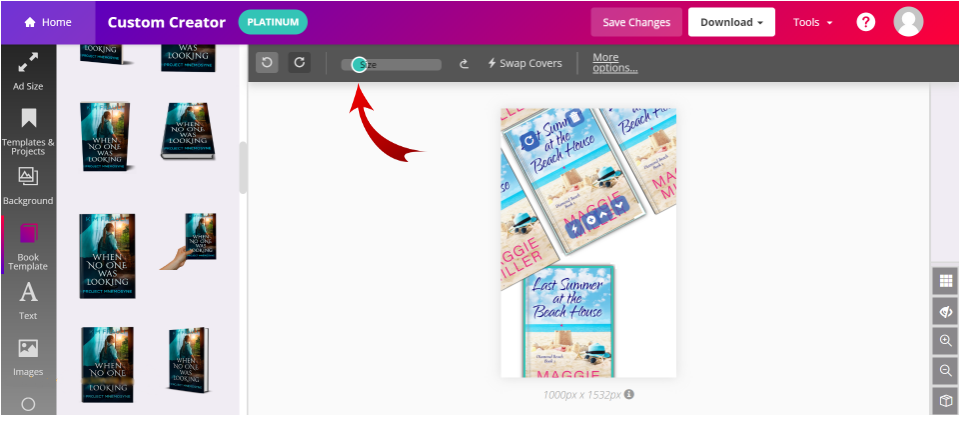
Step 6:
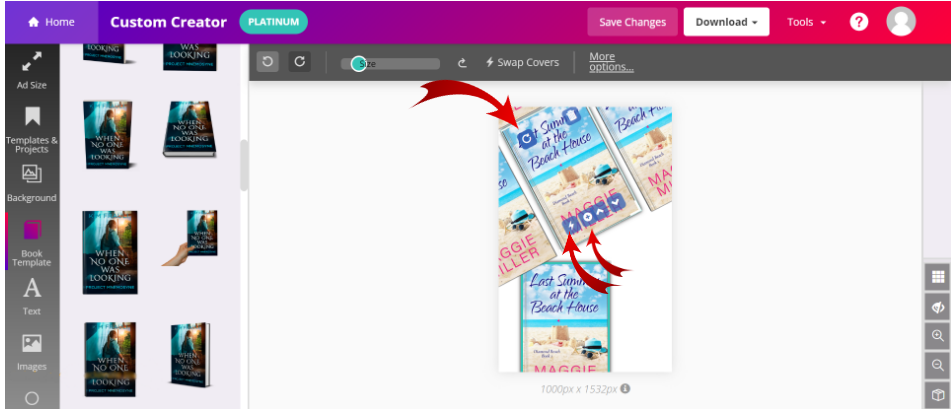
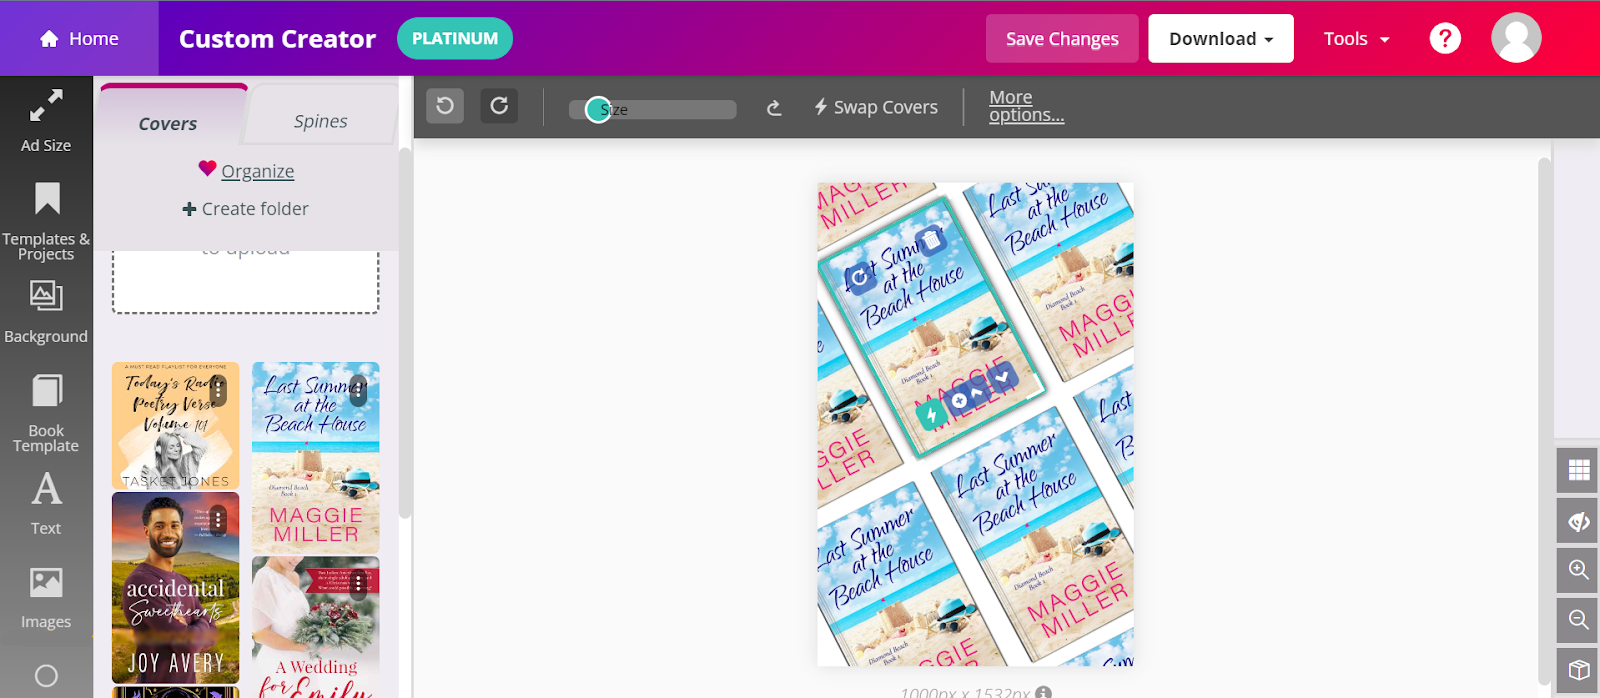
To turn the photo sideways, click on the photo. These icons will pop up. The circle arrow in the top left corner will allow you to tilt the photo on its side. Tilt it so it sits at an angle. To add more photos, click on the plus sign icon. It will add another photo of the same size. All you need to do is tilt the newly added photo and drag it to where you want it. If you want to add another book cover to your collage, you can click on the electric bolt icon. It will take you to where you can change the cover.
Step 7:

To make it easier to edit the sides of your graphic and to allow you to get the full picture of it, click on the “Eye” icon. Once you have the pictures lined up where you want them, you can click on the “Eye” icon again and it will go back to the actual cut of your graphic.
Step 8:
The basic diagonal book collage is complete! If you want to add more to it, we recommend that you hit the “Save Changes” button before you continue. That way, all of the progress you’ve made so far won’t get lost along the way. If you’re happy with your collage, you can click on the “Download” button. Then click on the “PNG” button. It will download your image. However, to save the graphic to your computer, click on the “Save To Your Computer” button.
Step 9:

To change the color of the background, click on the “Background” button on the far-left side and then click on the “Edit Background” button.
Step 10:
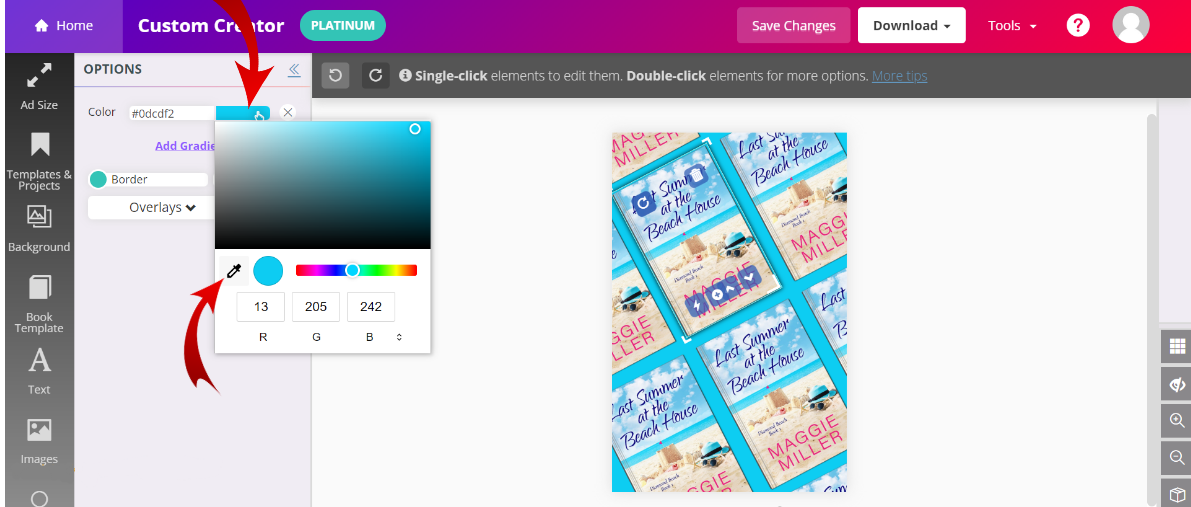
Click on the color box and then the “Paint Dropper” icon next to the circle of color. You can click on any color on your book cover to match the color, and then your background will automatically turn that color.
Step 11:
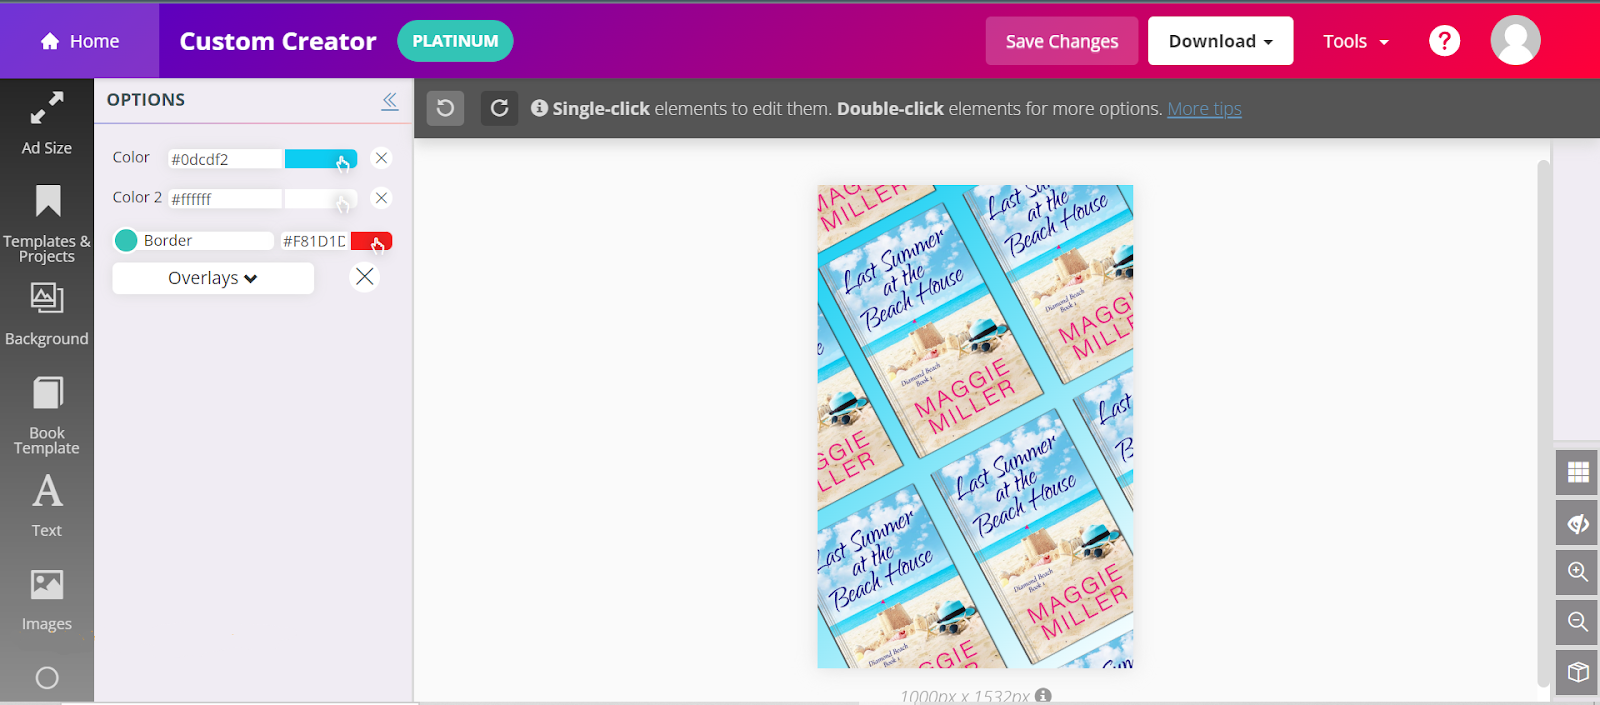
If you want the color to gradually change at the bottom of your collage, click on the “Add Gradient” button. You can add a second color for the background to change into.
Step 12:
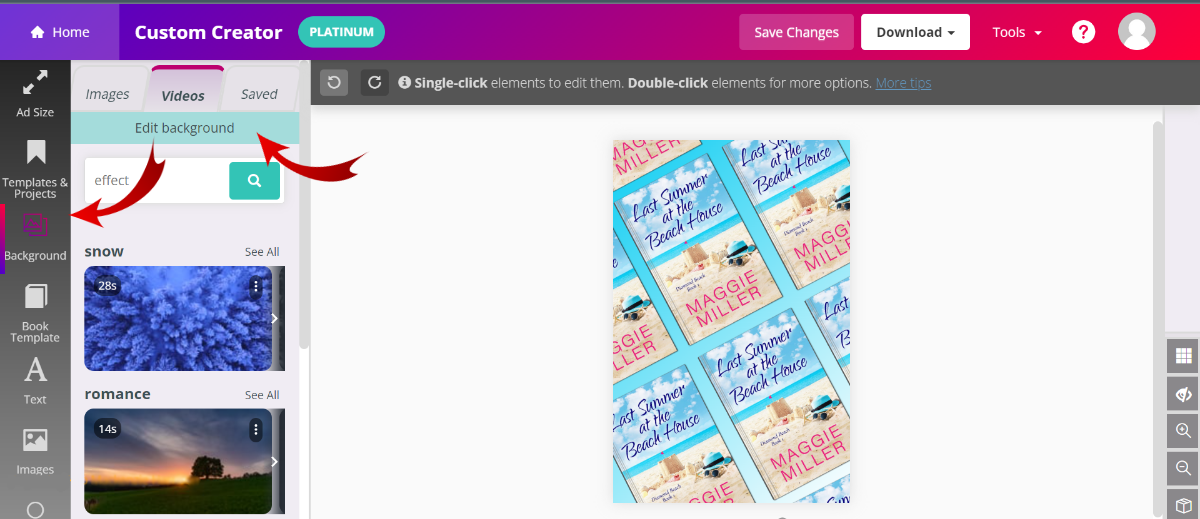
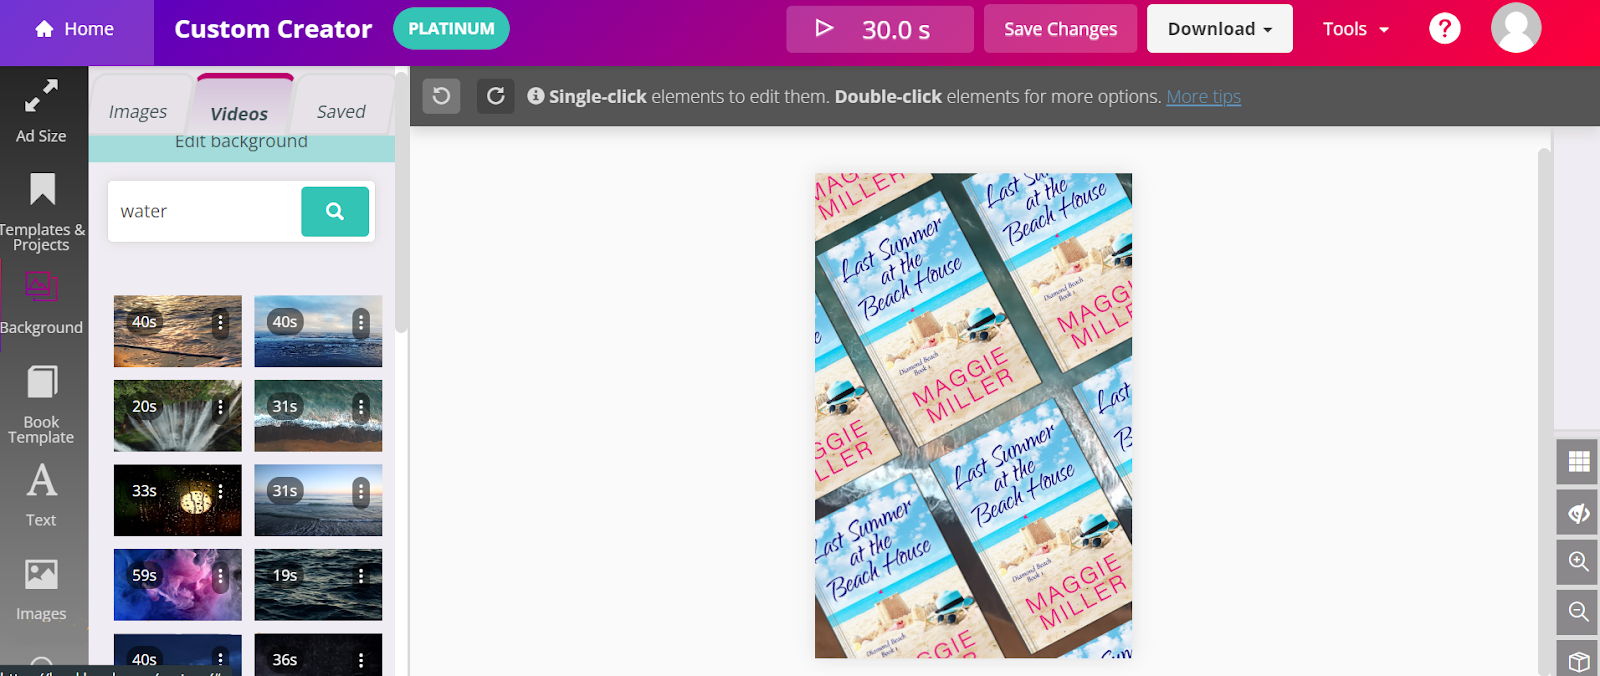
To really get your collage to stand out, you can add a video to the background. To add a video, click on the “Background” button and then the “Edit Background” button. You can scroll through the different video options or search for a keyword. In this case, we searched “water” to add to the theme of the cover.
Step 13:

Once you’ve found the background video you like, click on it. The video will more than likely need to be moved or stretched to cover the entire background of your collage. To stretch the video, click on the “Eye” icon. Hover your mouse over the corner of the video. Once the arrow pops up, click on it and drag the corner until the background completely covers the collage. Click on the play button at the top. It will play the video, so you can see what it looks like. If you’re not happy with the video, you can continue to find a different video on the left side.
Step 14:
If you’re happy with how the video came out, you can click the “Eye” icon again. It will take you back to the actual cut of your collage.
Step 15:
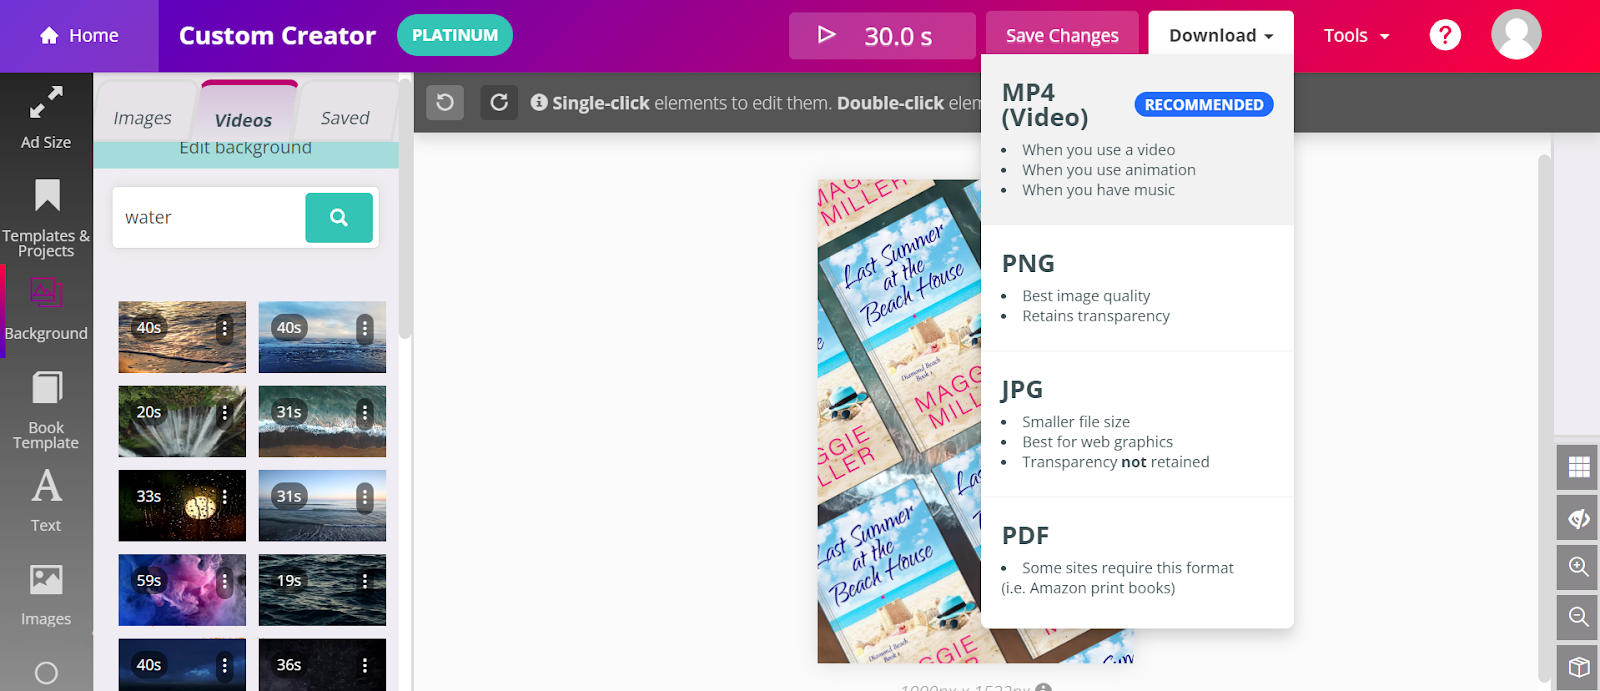
When you’re happy with the results, it’s time to download it to your computer. It’s very important that you don’t skip this step; otherwise, you’ll lose all of the hard work that you just did. Click on the “MP4” button to download. Once it has downloaded, click on the button that says, “Save To Your Computer.” Then you’re done!
In Conclusion
In conclusion, using the Book Brush tool to make your diagonal book collage for Pinterest is quick, simple, and quite fun to make! There are a lot of different backgrounds and videos you can use to spruce up your collage to make it stand out and to make it your own. The best way to create the collage the way you want is to play around with it and try different background colors or templates until you find one you fall in love with. With your new diagonal book collage, you’ll get your book to stand out and grab your audience’s attention in no time!