Are you looking for a fun and eye-catching way to promote your audiobook? Promoting your audiobook doesn’t have to be a drawn-out or complicated process. With Book Brush, it can be quite fun. Book Brush is a simple tool that allows you to promote your audiobook in a unique way that will get your book to stand out and get your fans excited to listen to it.
Below, we demonstrate how authors can create a graphic to promote your audiobook in just under 10 minutes. Let’s get started!
Using Our Templates To Promote Your Audiobook
Step 1:

To get started, simply go to your Book Brush homepage and click on “Custom Creator.”
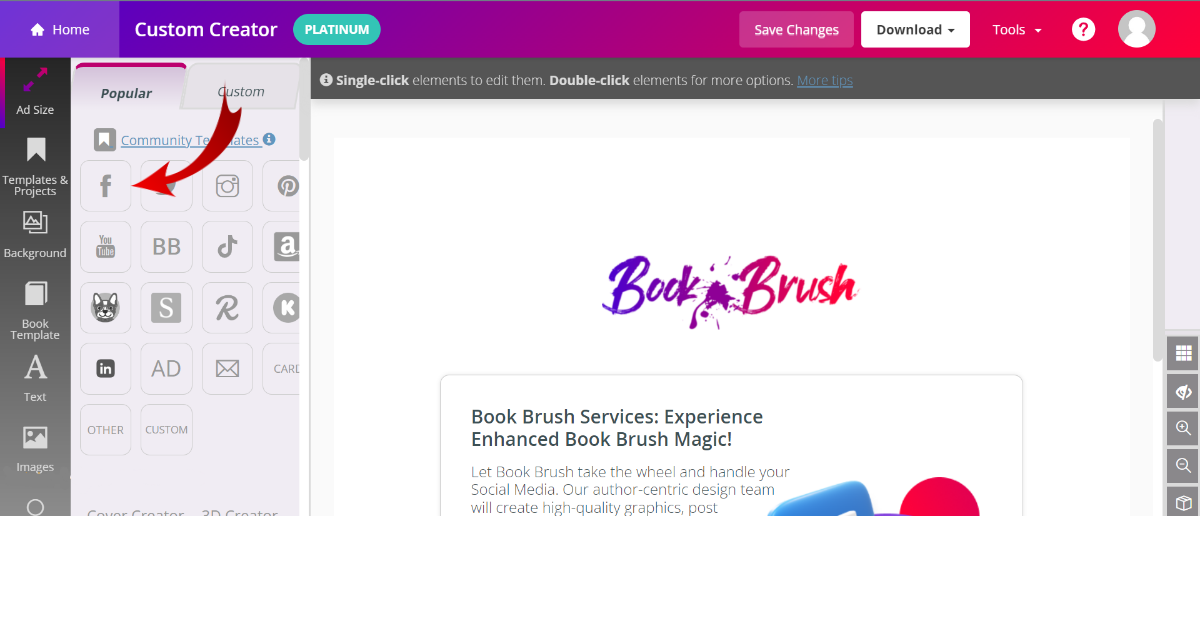
Step 2:

Next, click on “Community Templates.” This will take you to our wide range of audiobook templates that you can explore.
Step 3:
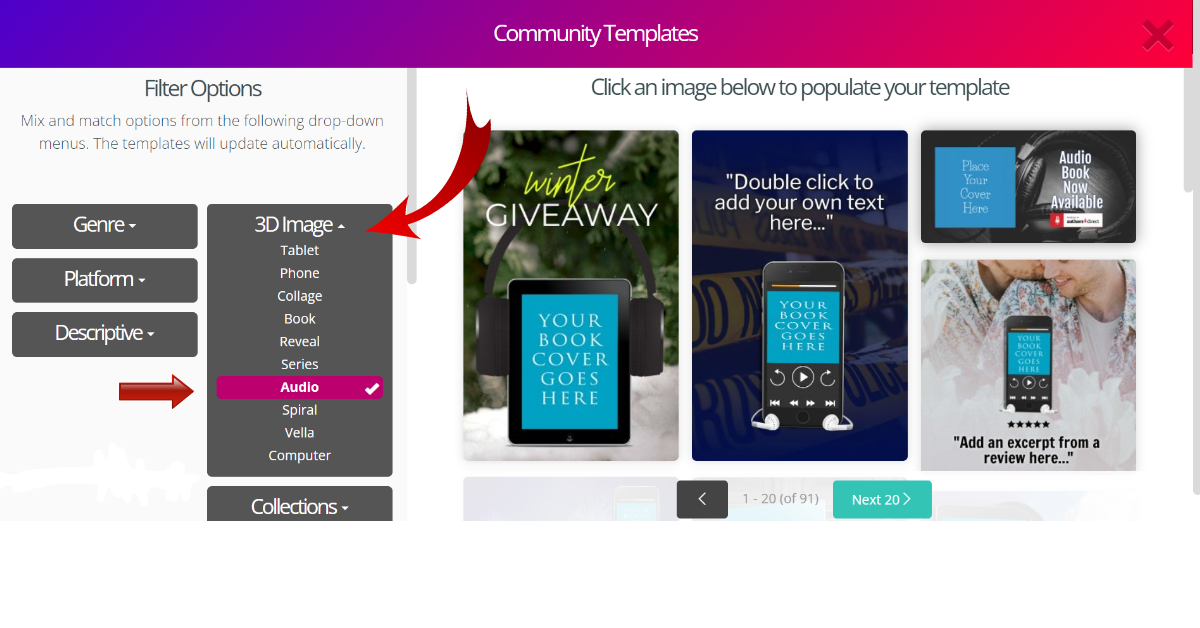
Once you’re on our community templates page, click on “3D Images” and then “Audio.” You can now go through all of the audiobook templates we have to offer and find the one that you like the best.
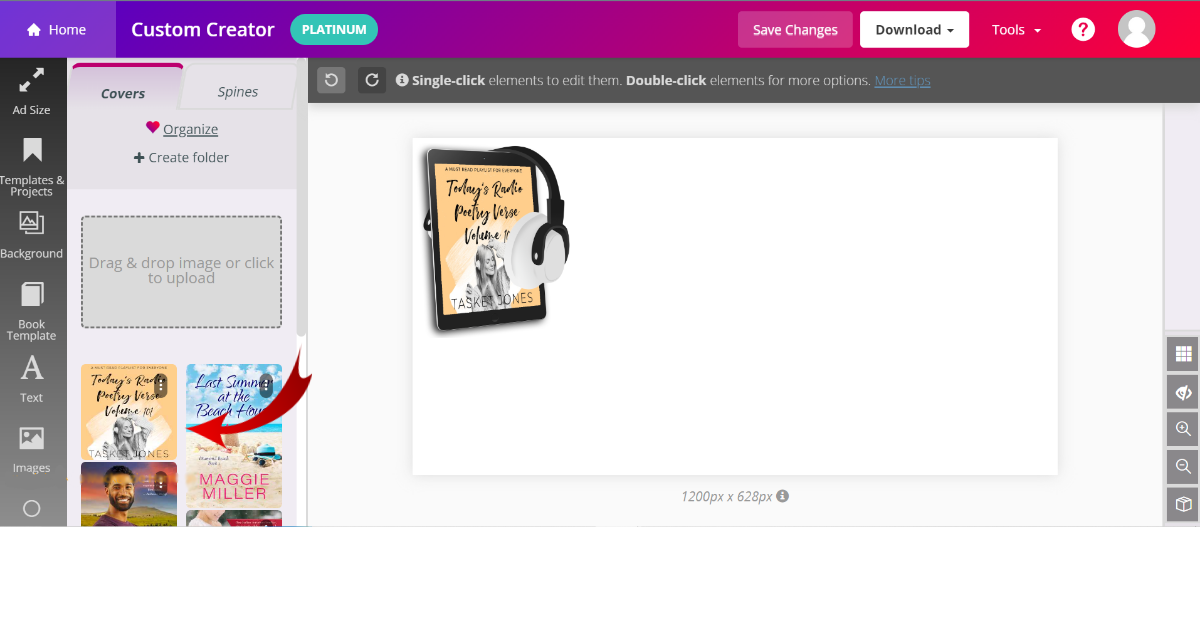
Step 4:
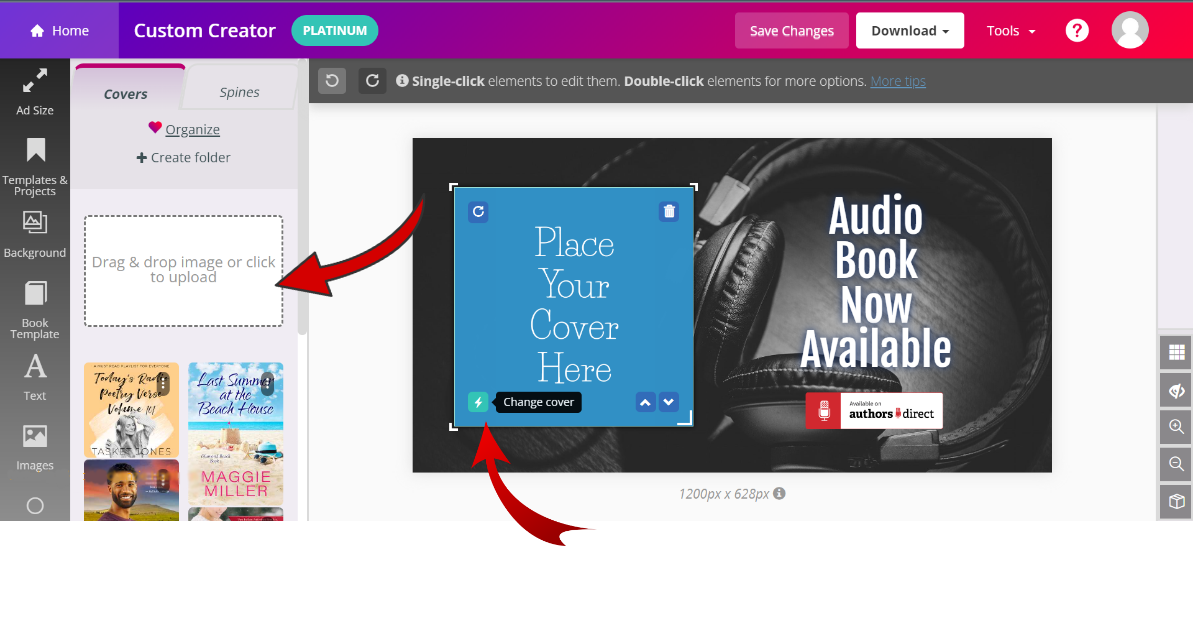
Once you’ve chosen a template, double-click on where your cover would go and click on the lightning bolt icon. You’ll have the option to manually add your audiobook by clicking on the box, or you can click on your cover down below if you’ve used it before
Step 5:
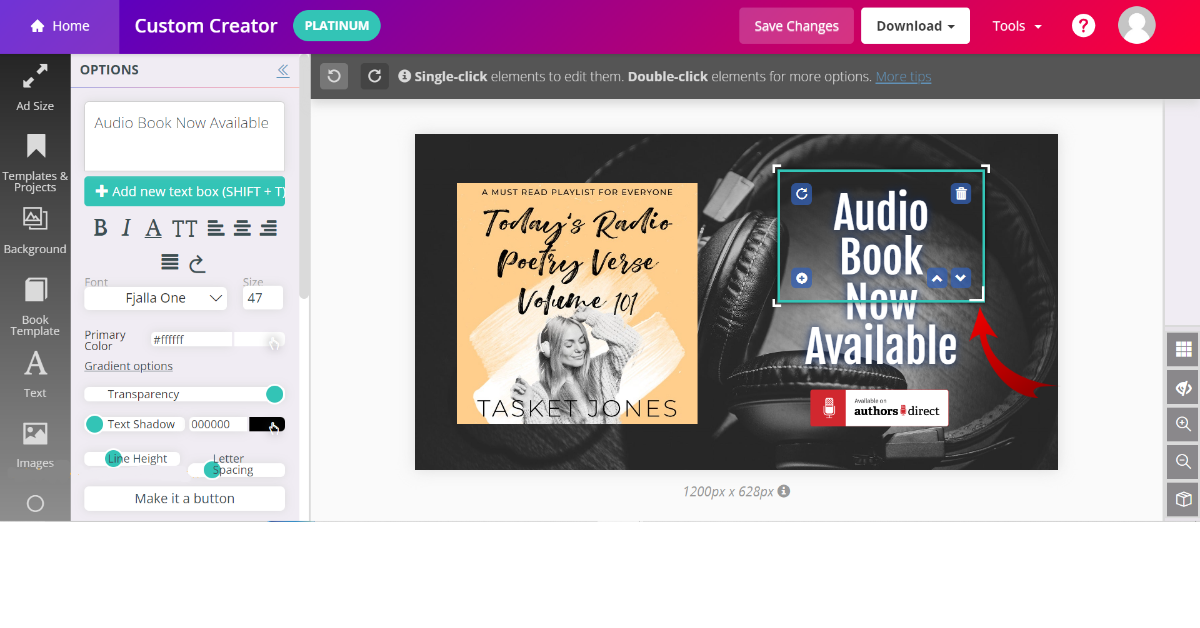
You can double-click on the text, and it will allow you to change the text, change the color of the text, switch the font style, etc., on the left-hand side.
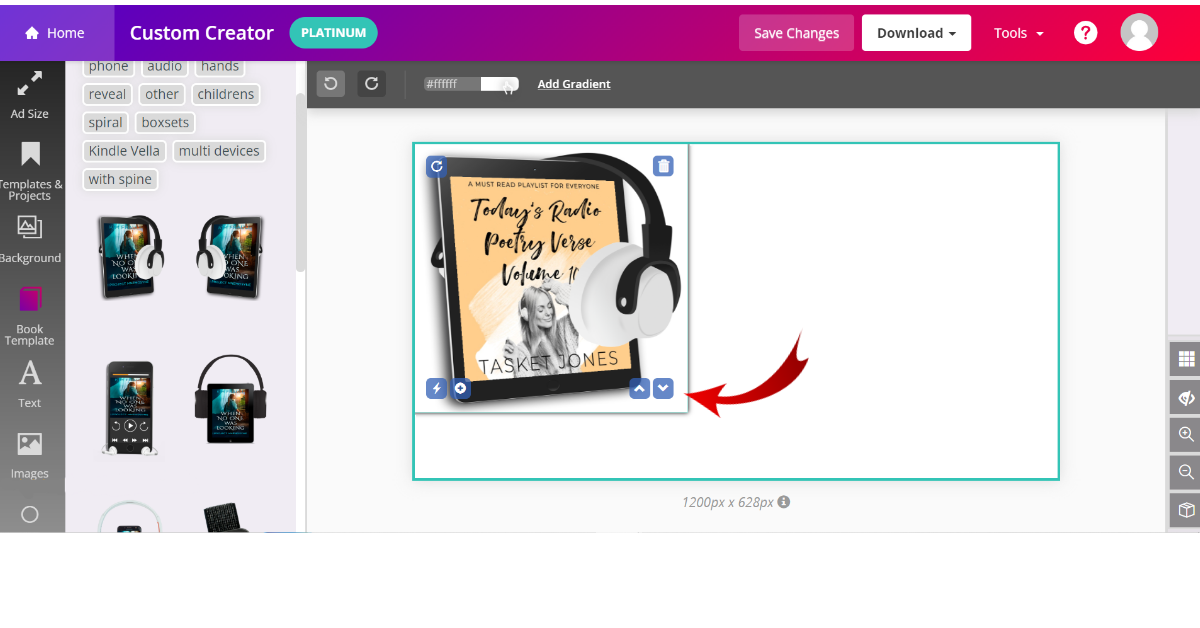
Step 6:

If you’re unhappy with the placement of the audiobook cover, text, or logo, you can switch it around. All you need to do is click on it and drag it to the desired location.
Step 7:
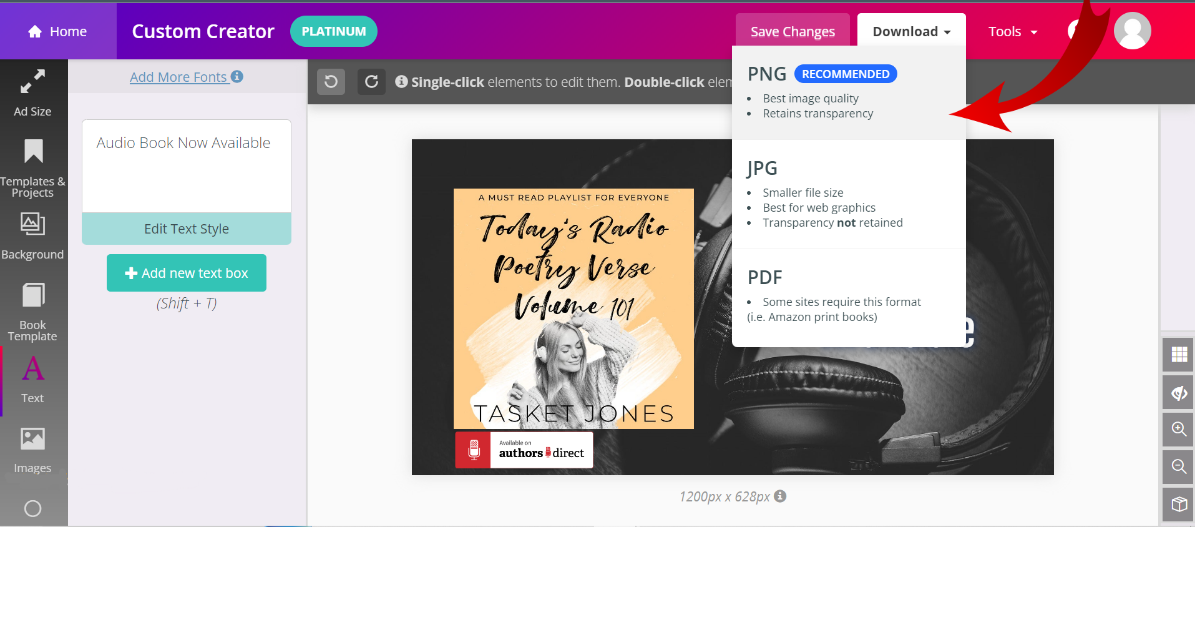
If you’re satisfied with your image, it’s time to save it. To download your image, you’ll want to click the “Download” button. PNG is typically recommended to provide you with the highest quality of image.
Step 8:
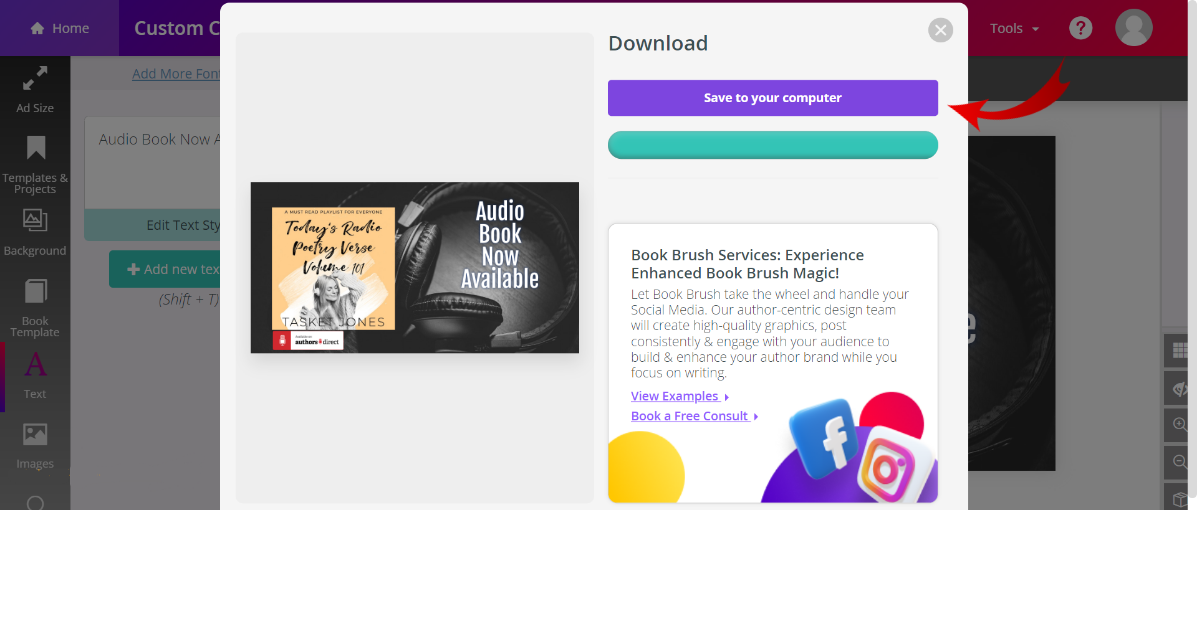
The last step in saving your image is to click the “Save To Your Computer” button. This step is very important because you don’t want all of the work you just did to be for nothing and end up losing your graphic. This is the step that uploads your graphic to your computer.
Step 9:

The last step is to double-check and make sure that your image is successfully downloaded to your computer. All you need to do is go to the folder that holds all of your downloaded images and click on it.
Creating A Graphic From Scratch To Promote Your Audiobook
Step 1:

To make your own audiobook graphic from scratch, you’ll first start on your homepage and click on the “Custom Creator” button.
Step 2:
The first step in getting started is to choose which social media platform you’re going to promote your book on. Each platform will display your graphic in a different size. If you’re going to post your graphic on Facebook, click on the “Facebook” icon. If you’re going to post it on Instagram, click on the “Instagram” icon.
Step 3:

Next, it will display a variety of different options. Whether you’re going to post it as an ad, cover photo, story, etc., you can click on the option that best describes what you need the graphic for.
Step 4:

Next, you’ll click on the “Book Template” button on the left side and click on the “Audio” button. It will display different templates that you can choose from.
Step 5:
Once you click on the template you like best, it will automatically request you to add your audiobook cover. You can add your cover manually by clicking on the box, dragging your image into the box, or you can click on your cover down below if you’ve used it before.
Step 6:
If you click on your image, you can simply make it larger or smaller.
Step 7:

To add images or logos to your graphic, you can click on the “Images” button on the left side and click on the “Audio” button on the top. It will give you different options like earbuds, headphones, and different audiobook logos.
Step 8:
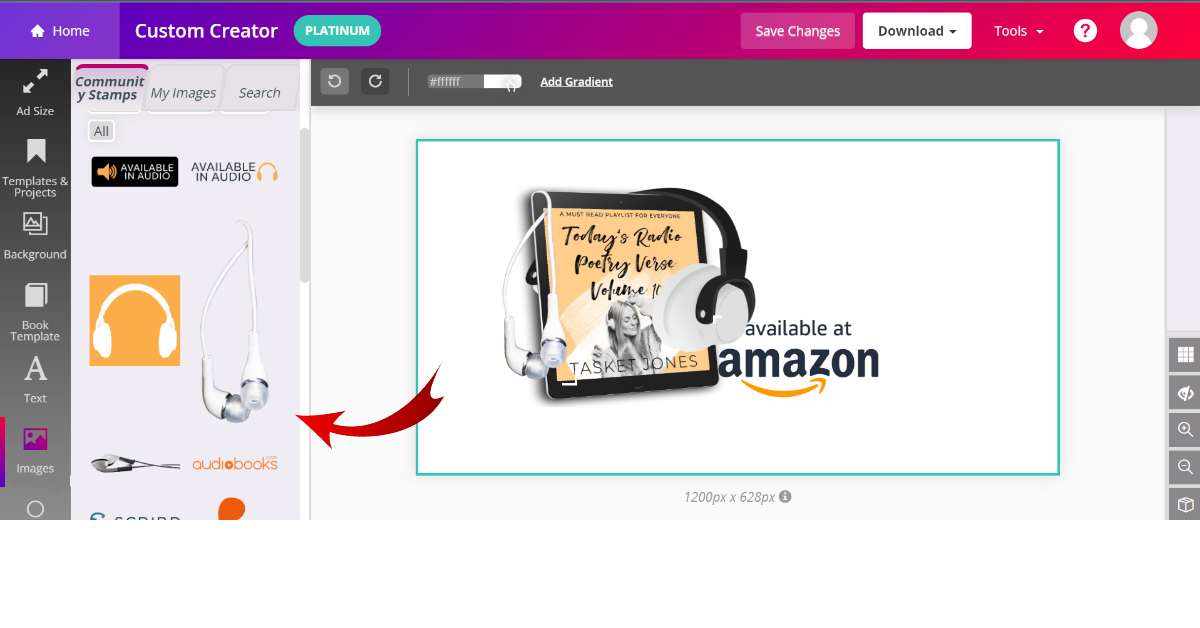
To add the image, just click on it and it will appear on your graphic. To move around your image, all you need to do is click on the image and drag it to where you want it to go.
Step 9:
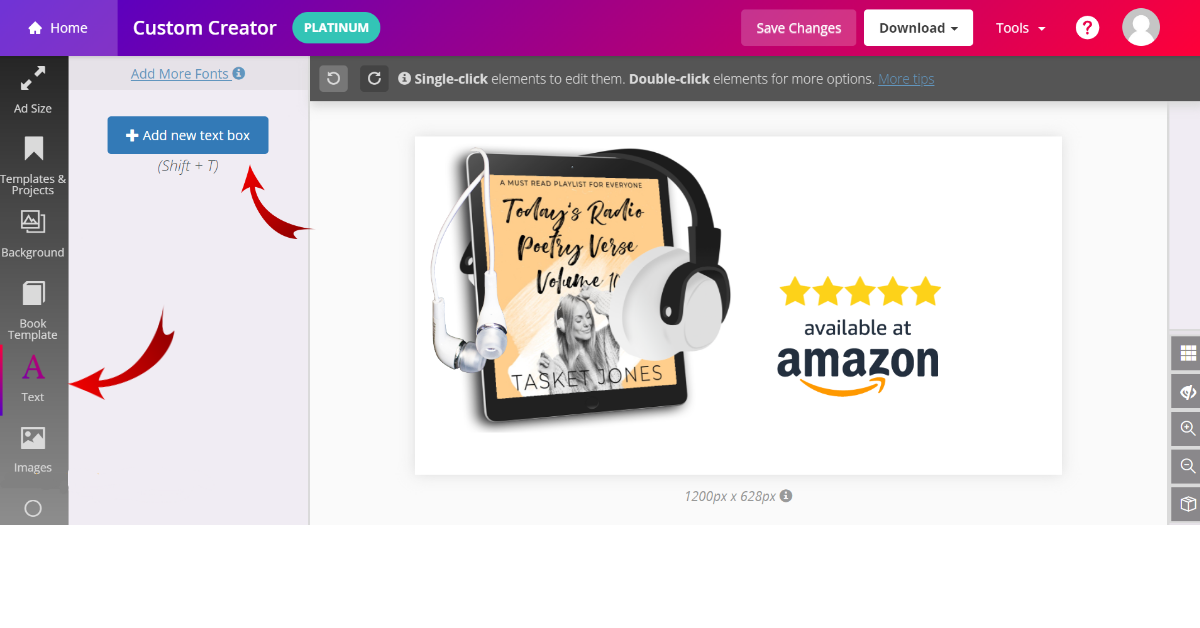
If you want to add text to your graphic, all you need to do is click on “Text” and the “Add New Text Box.” Once you click on that box, it will create a new text for you, and you can add an eye-catching text.
Step 10:
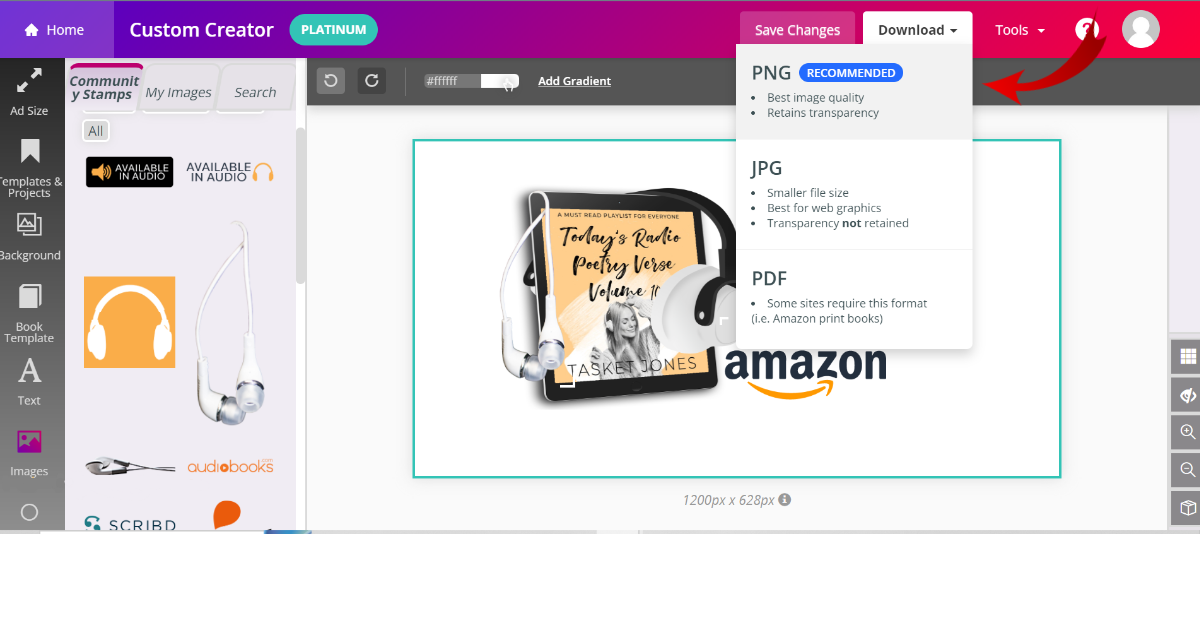
Once you’re ready to save your image, the rest of the steps are just like the ones above. You will hit the “Download” button, the “PNG” button, and then click on the “Save To Your Computer” button. Don’t forget to double-check your downloaded images folder on your computer to make sure that it is successfully saved.
In Conclusion
That’s it! These steps are incredibly easy and take less than 10 minutes to create a striking graphic that you can use to promote your audiobook. Posting the same photo time and time again gets old. This is where we come in. With Book Brush, you’ll be able to create a graphic in no time that will look sleek, professional, and get your audiobook to stand out.