The holidays are hectic, your marketing shouldn’t be. Book Brush will help simplify this part of your life.
Instant Mockups
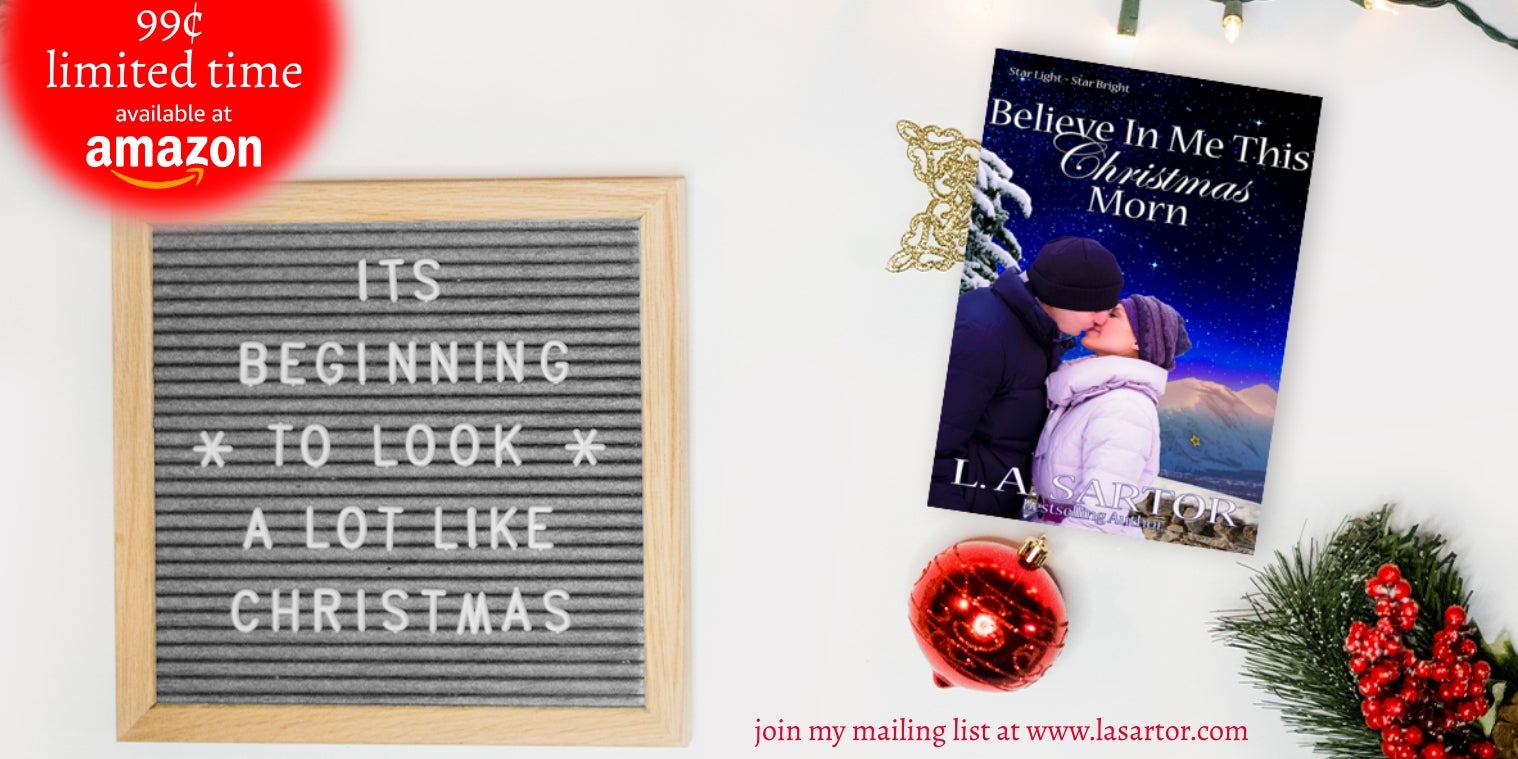
Right off the bat, we’ll start fast and easy using the Holiday Instant Mockups. This is my finished ad.
click on image to enlarge
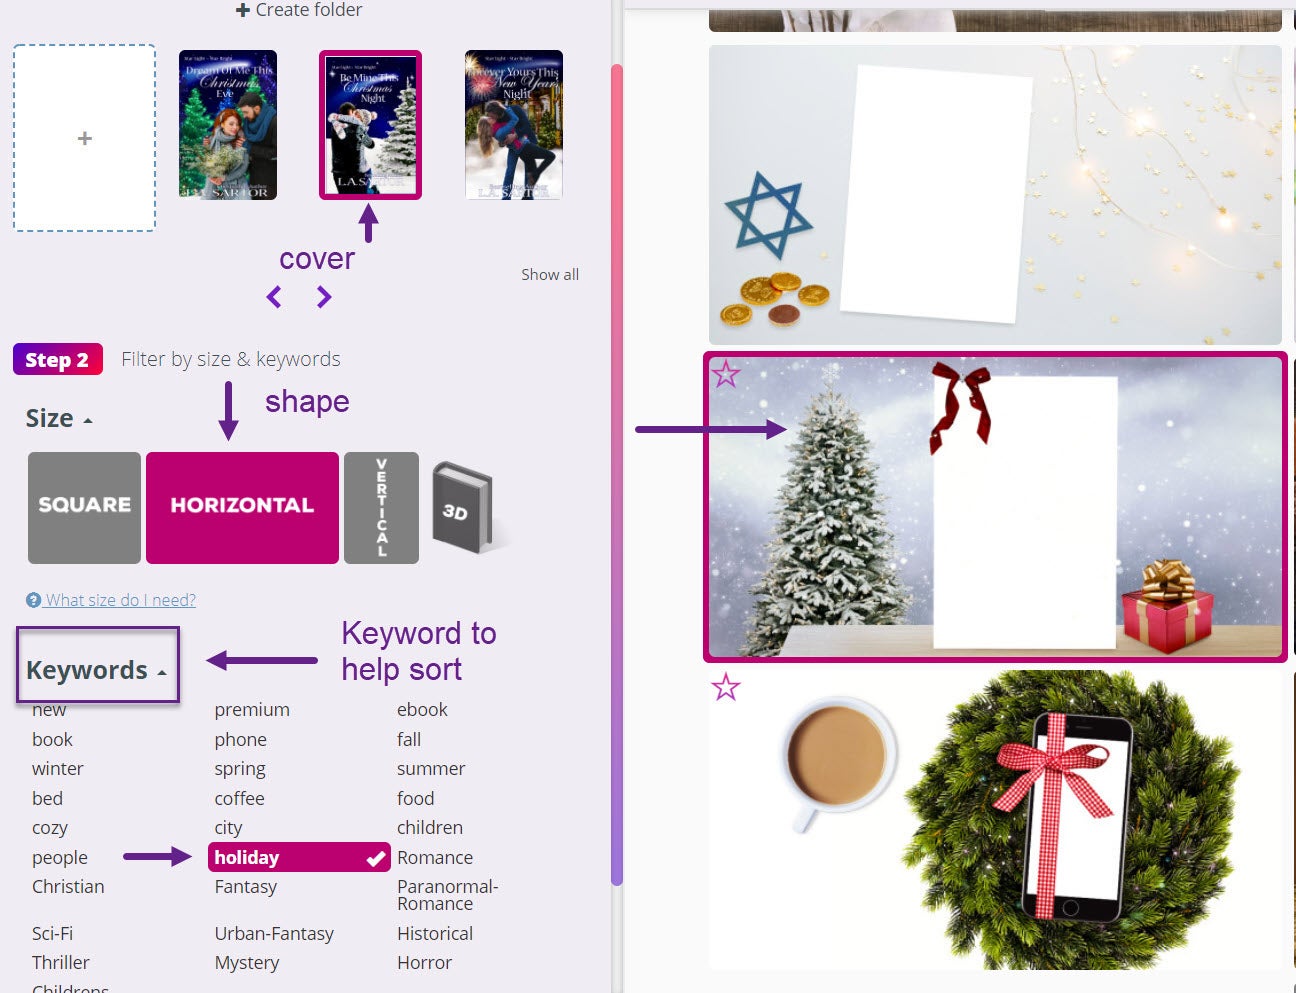
To do this, start in the Instant Mockups Tool. You’ll see there are steps to follow once you’re in the tool.
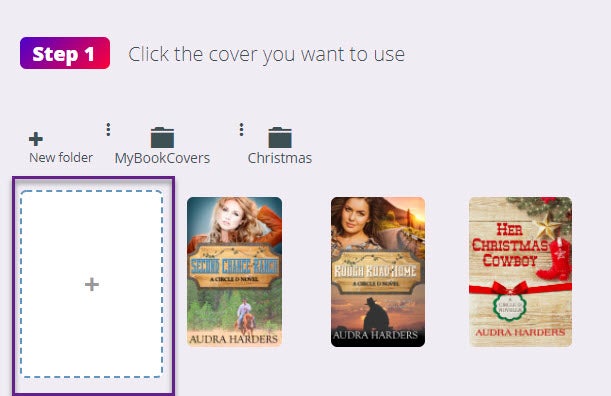
Step 1) Click on the cover you want to use
If you don’t see them, you can upload them in the white box with a plus sign or also to MY BOOKS under the Account dropdown.
click image to enlarge
Step 2) Filter the size & keywords
- Yes, you can select all the sizes, and the keyword
- The only caution is if you want fast, and you’re creating a twitter ad which is rectangle, use that size. Don’t try to fit a square box on a rectangle canvas. We’re talking quick and easy with this
- I used Holidays to filter and there are a multitude of choose from
Step 3) Click the image(s) to select them.
Step 4) Convert Now
It takes about 4 seconds an image to convert and once done, you’re ready to download.
- Download it to the drive and folder you’ve chosen, remember it’s a zip file so you simply need to extract on PC, on a Mac that is done for you.
- Some systems will automatically download it to the “Download folder” unless you’ve indicated in the system preferences to allow you to choose your folder.
HIP TIP: In a hurry?
Download just one image and it will download directly to your computer–no zip file.
Now you’re ready for the Custom Creator Tool
Pick you Ad size, keep in mind you were choosing rectangle IM’s, so look for rectangle ad, usually FB and Twitter
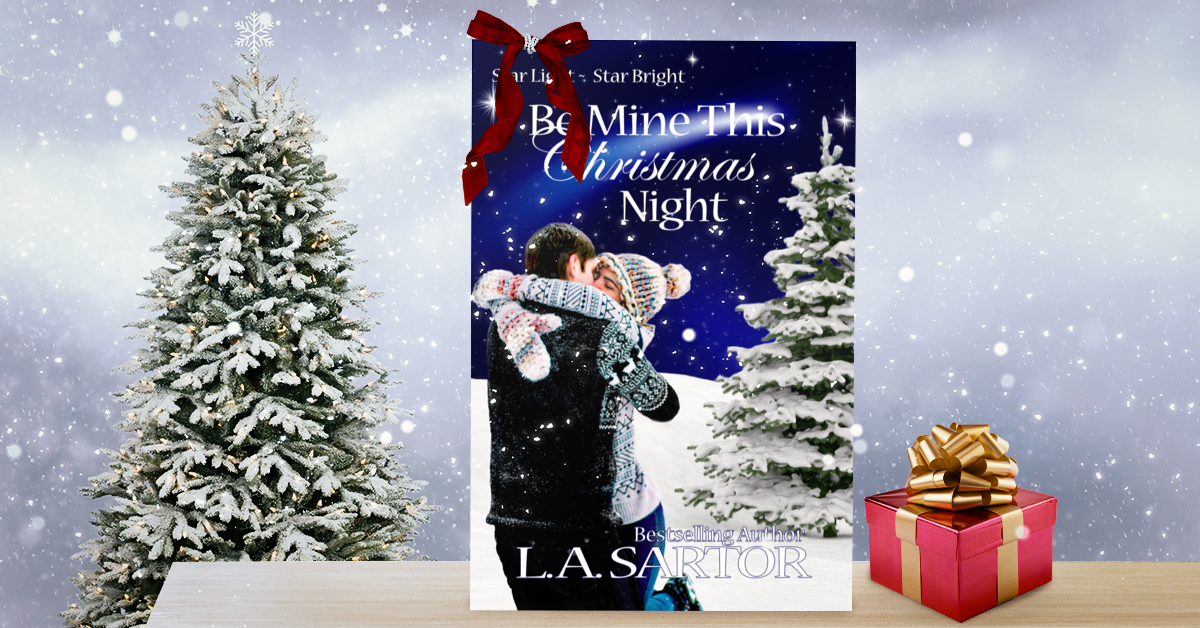
1) Go to stamps and upload your Instant Mockup(s)
This is the Instant Mockup I made simple and plain, we’re going to add just a bit more. Remember fast and simple are the key words here.
click on image to enlarge
2) Choose the IM you want to work with and stretch to fill the ad size.
Click on one of the corners and while holding down the SHIFT key, drag it to fill the ad space.
- Remember, holding the SHIFT key while you drag keeps the image proportional.
3) Add text and other stamps as needed
- I added the round red stamp (found in Blank Stamps), and moved it to the top so part was off the ad, then I blurred it using the edit box on the left of the workspace
- I added a text box for the 99¢ and a stamp for Amazon
- The ¢ for the 99¢ is the keyboard short cut of holding down the ALT key while pressing the numbers 0162
- There are two stamps for Amazon, one in traditional colors, the other white.
- I added a text box for joining my mailing list
4) Save in Templates
5) Download
Using Instant Mockups With Multiple Books
Instant Mockups have only one smart object per mockup (that is the white image you’re filling in when you choose your cover). BUT we can add more 3d books very easily after you create the initial mockup.
click on image to enlarge
This is the Instant Mockup with my choices above.
click on image to enlarge
This is the finished Instant Mockup.
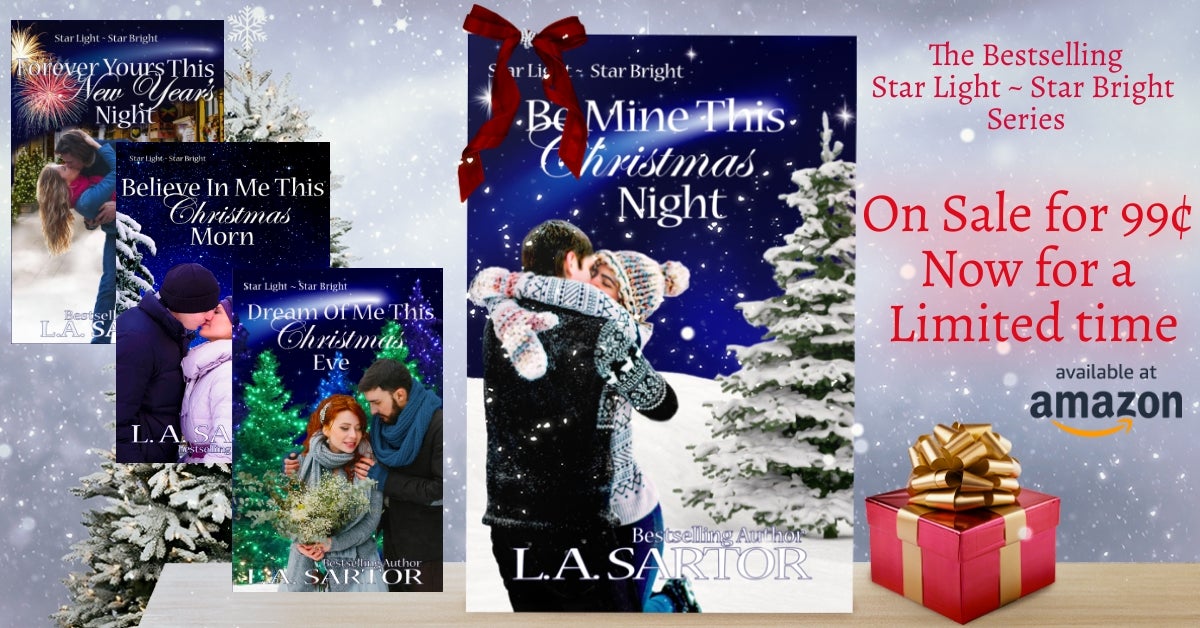
click on image to enlarge
1) Bring in your mockup to the Custom Creator workspace as we did before.
- I usually choose FB or Twitter Ad sizes
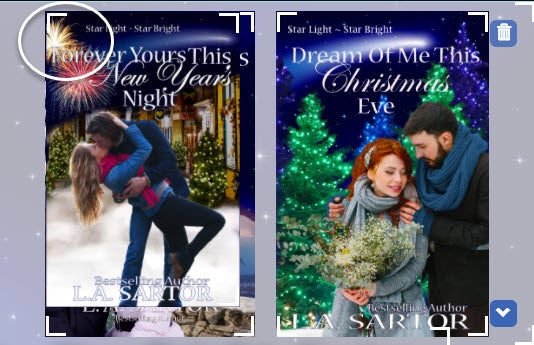
2) Create your additional book templates
Since this mockup had a flat cover I went to Book Templates and found the matching flat cover
Remember you’re still in the Custom Creator Tool with your Instant Mockup on the workspace
I made one for each of my additional three books in the series
Then I sized them (again by using the image’s handles while holding SHIFT)

click on image to enlarge
3) I Added 2 Text boxes
I created a Text Shadow behind the “On Sale”.
- I moved the transparency slider is all the way up and shadow moved to high. That gives a background behind the text that isn’t as heavy as the rest of the ad. Basically, it’s a highlight.
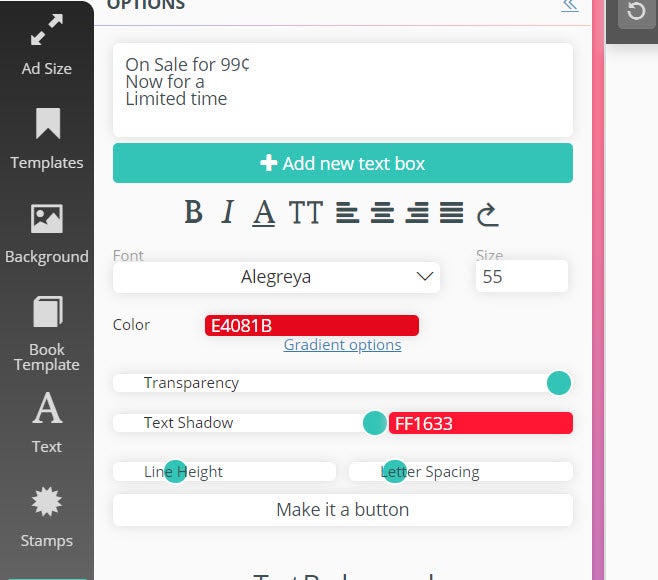
click on image to enlarge
Simple changes to make your text stand out.
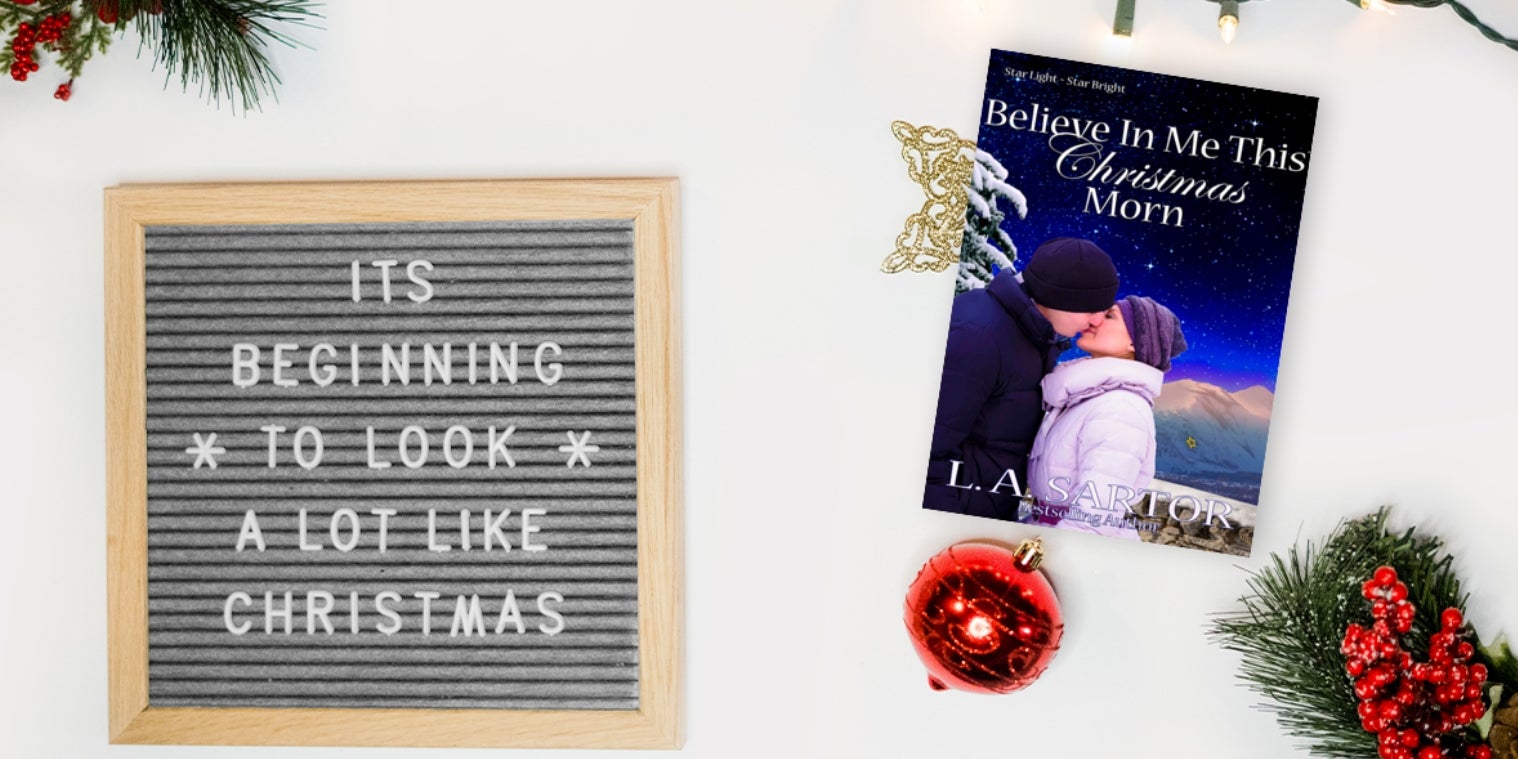
From Scratch Ad
What if you want to create an ad from scratch, but still be quick and stunning? Here is my final ad.
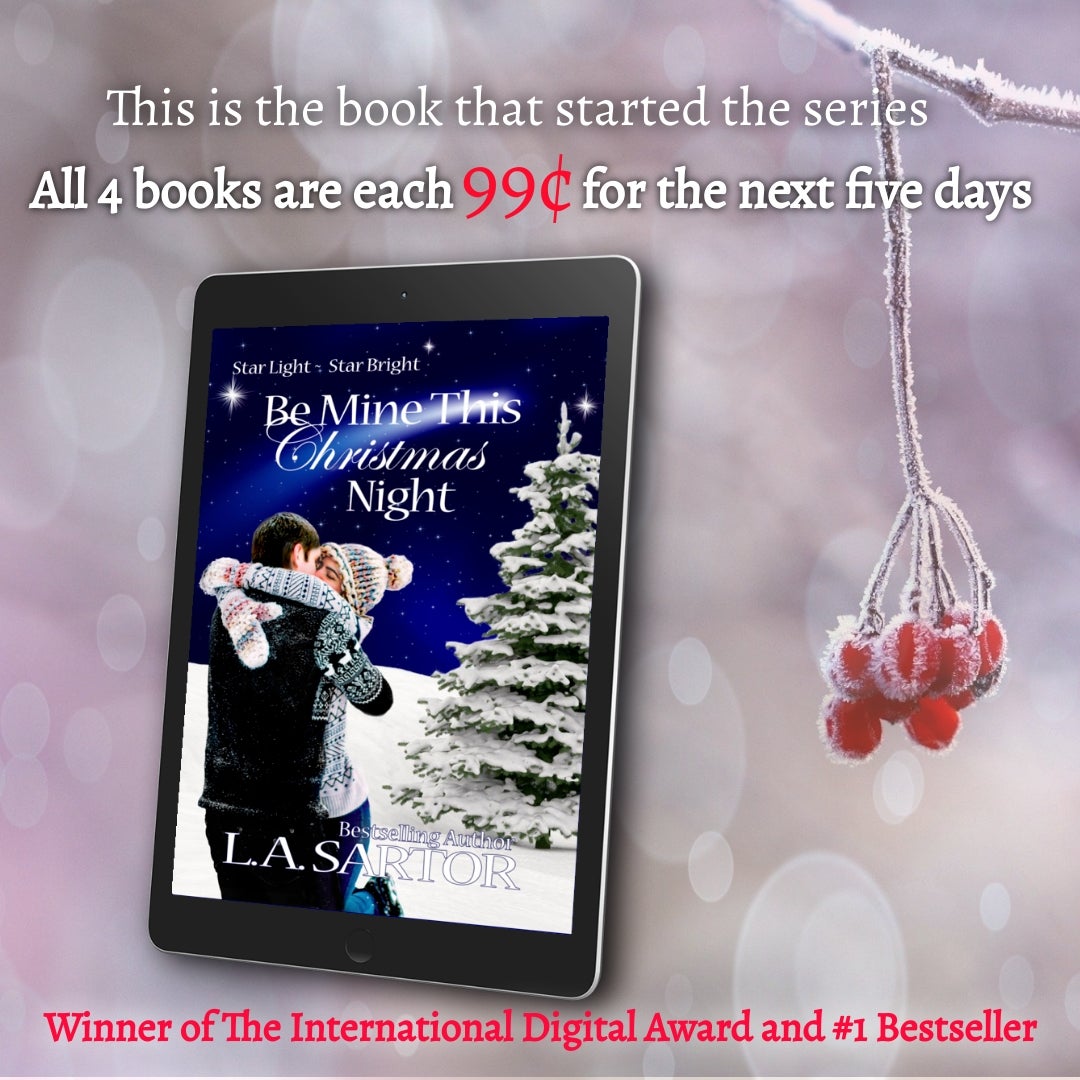
click on image to enlarge
1) Select Ad size
This time I’m going to use Instagram
2) Find a background
I searched under Winter (but remember, you can search for holidays and colors, so if the holiday you want is primarily black, red and green of Kwanzaa say, search for red, black, green). And remember you can bring in your own backgrounds.
3) Add an overlay if you wish, there are some great ones to add dimension to your background
- I added a bokeh in soft pale color to help with type.
- If you try overlays, remember not to stack them on top of each other as you try, use the X and cancel, then try another.
4) Add your book template(s) and if you want to keep everything the same in the ad, but put in a new book, make a simple cover switch.
- This ad has a countdown, but if you want the ad image to stay the same and just switch out the cover, use the lightening bolt in the corner of template to switch cover. You can make a ton of related ads with different covers this way.
5) Add text (keep it simple)
I did make a separate text layer for the 99¢ and made the font bigger
- I spaced enough between “each” and “for” and slipped 99¢ into place
- I’m going to change the number of days, as a countdown and post them each day. Then on day one, I’ll make the one big and bold and possibly red
6) Add stamps
7) Save as template and download.
What if I want the same ad on different platforms. QUICK Again.
- Open your template then go to ad size and pick a new one. Some rearranging and you’re done.
- SAVE AS TEMPLATE Click again, rearrange as necessary and SAVE AS TEMPLATE.
- Now, remember you can use the same template and switch out the background.
The importance of templates is that they are editable as long as they stay in Book Brush. Once you download them they are flattened and while they can still be used, they have to have whatever you want added to the top as another layer.
BLACK FRIDAY AND CYBER MONDAY
There are a ton of new word stamps!
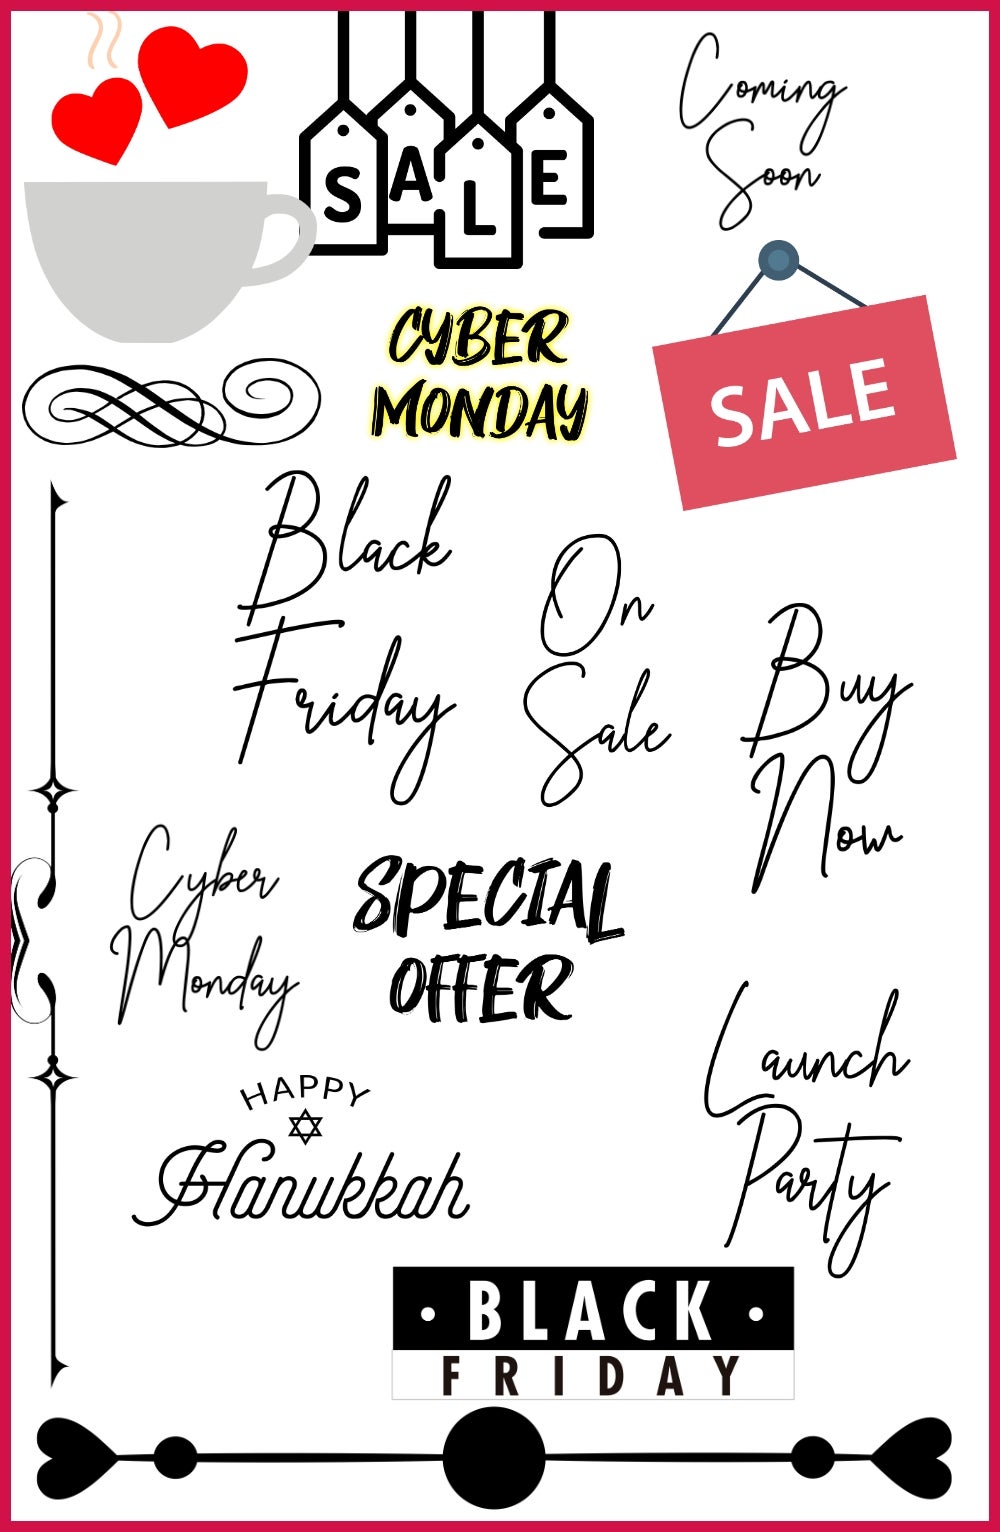
click on image to enlarge
Search under TEXT to find these text stamps. And I searched under BORDER for the swashes.

click on image to enlarge
1) Facebook Ad Size
2) Searched for HOLIDAY background
3) Added the CYBER MONDAY stamp
4) Added the 3 book templates, one for each cover in the series
5) Added two text blocks
It truly was that fast and simple!
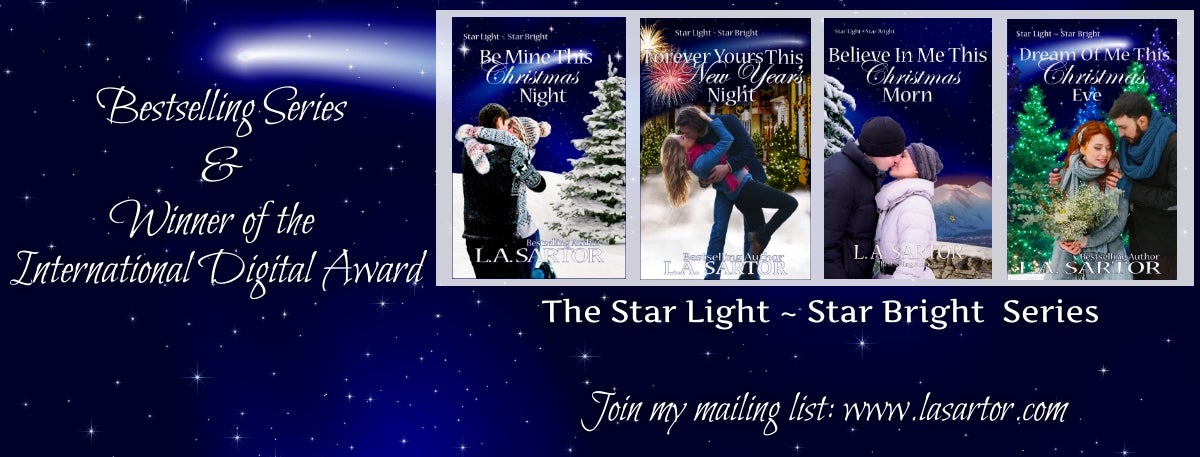
Header for Facebook and Twitter
Now is the time…
To change your FB header on your profile and page to show your books.
It can be a sale, or just a reminder to people that you have holiday books.

click on image to enlarge
I sized the book images by making one the size I needed, then dragging each subsequent cover on top of the sized one. Matching an upper corner and dragging until it fits, until all covers are equal.
click on image to enlarge
Then using the Toggle Grid lines, you can line them up.
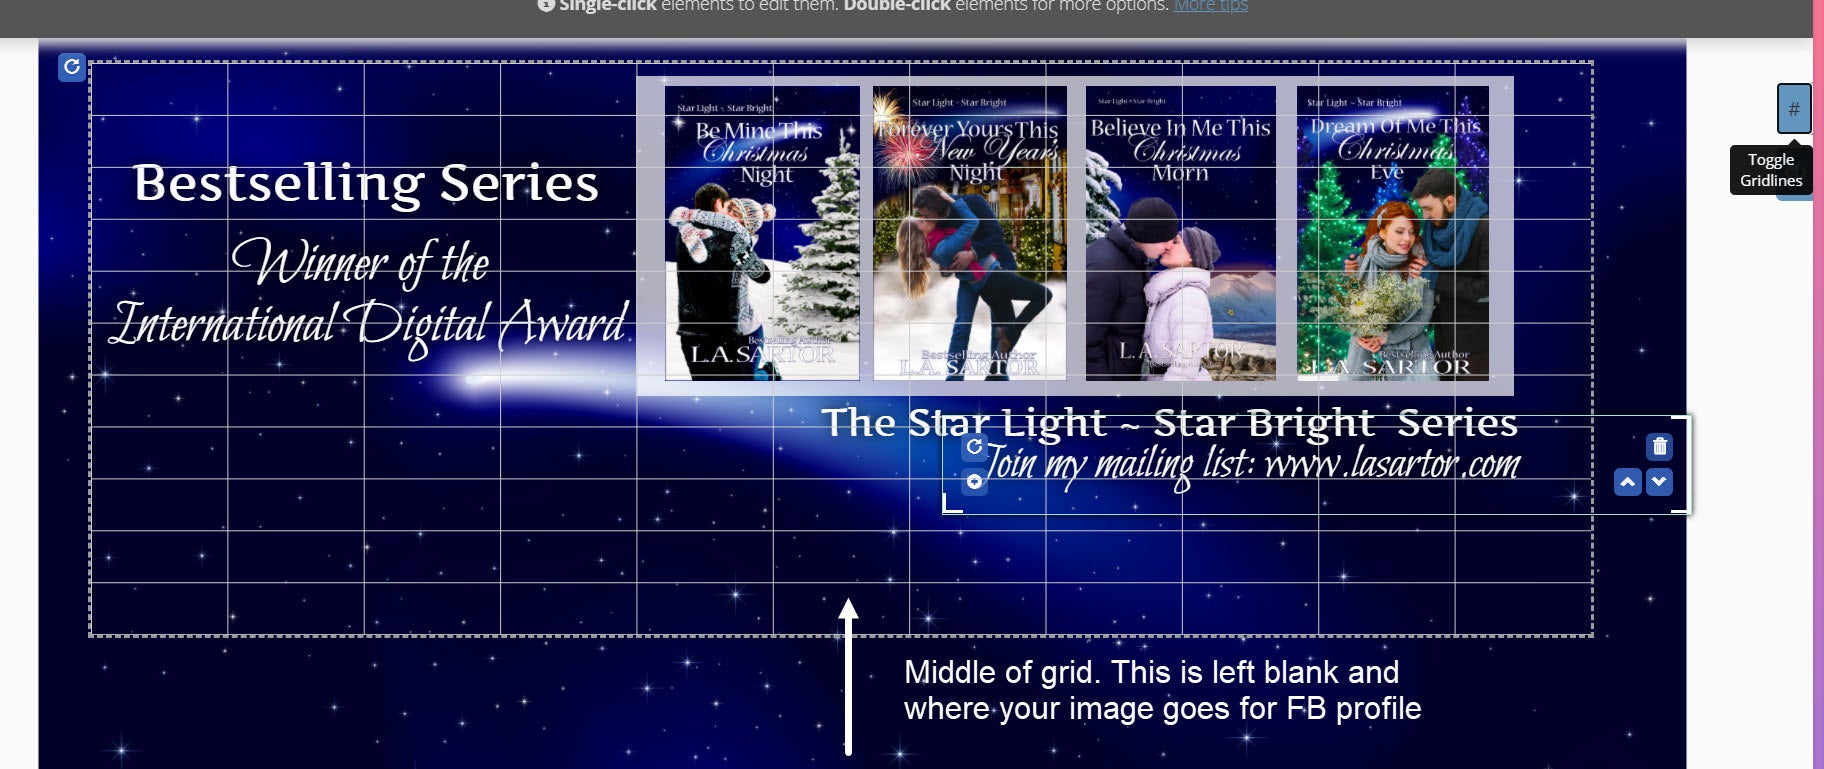
click on image to enlarge
For my Facebook Page, I used the same template and moved the items around, because your image is now in the left hand corner. The books are larger, and I used the same technique for sizing.
click on image to enlarge
If you have sharp eyes, you’ll notice that I also moved my background up so the swishing star was higher and I dropped my text down.
Remember, not every inch of your ad has to be covered in text or images. Space gives the viewer a moment to absorb, then comprehend each element. That is what we want. And Book Brush makes it easy.
Don’t forget author swag as Christmas gifts!
 Article by L.A. Sartor

I started writing as a child, really. A few things happened on the way to becoming a published author … specifically, a junior high school teacher who told me I couldn’t write because I didn’t want to study … urk … grammar… That English teacher stopped my writing for years.
But the muse couldn’t be denied, and eventually I wrote, a lot. I learned a litany of new things and published my first novel. My second book became a bestseller, and I’m absolutely on the right course in my life.
Please come visit me at www.lasartor.com, see my books, find my social media links, and sign up for my mailing list. I have a gift I’ve specifically created for my new email subscribers. And remember, you can email me at Leslie@LeslieSartor.com